History:
“Drypoint was in use by the late 15th century and, in the early 16th century, the German artist Albrecht Dürer already had a thorough command of the technique. Its greatest master was Rembrandt (1606-69), in whose etchings drypoint became increasingly prominent. After suffering a period of neglect in the late 18th and early 19th centuries, drypoint was revived and has been used by most modern etchers.”-Britannica
Process:
- Copper is the preferred plate for dry point providing 100-200 decent impressions. Zinc yields 25-30. Tin can also be used. We will be using Plexiglas. From a commercial point of view, drypoint is fast wear of the plates and only good for short runs.
- Make a drawing at the exact scale of the Plexiglas. Remember your print will print in reverse so all text would need to be written backwards.
- File the edge of the Plexiglas if it feels to sharp. Sharp edge may potentially cut the paper.
- Tape the drawing to the back of your Plexiglas.
- Replicate your drawing with deep and shallow lines using a scribe needle or large nail. You should be able to feel it with your fingernail.
- Where treated with the needle, rough metal edges are thrown up into a burr. This burr holds the ink. Unlike engraving, this burr is not removed.
- Keep your tool sharp.
- Remove the image from the plate.
- Take a scrap piece of mat board and wipe a layer of etching across the entire plate. Remember that the plate will leave an embossed edge around it on your finished print. You may opt to isolate an area to ink rather than ink the entire plate.
- You can then start to remove the ink off the plate using paper towel, cotton cloth, cheese cloth, q-tips, rags, etc. (a) You can wipe the entire plate off leaving only the etched line (b) or you can wipe away the ink leaving highlights and model tone.
- The inked plate will be run through the printing press on damp paper stock.
- Place wet print on drying rack for two days.
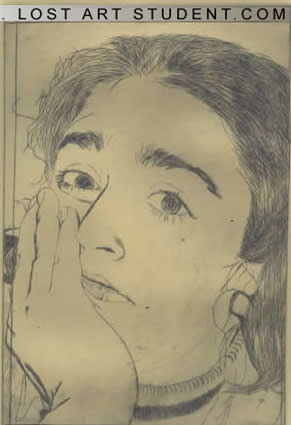
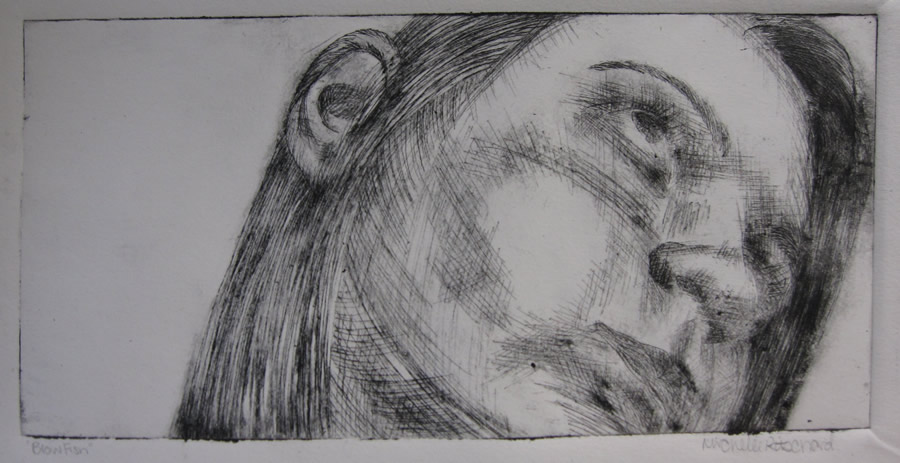
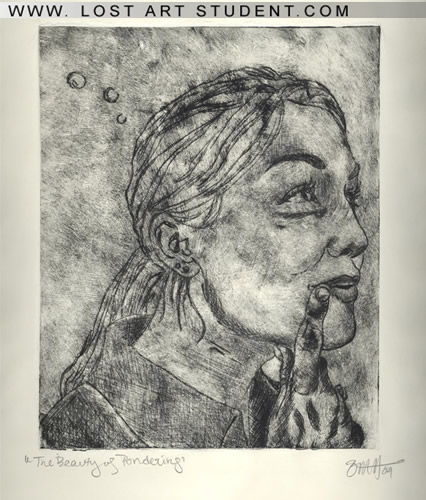
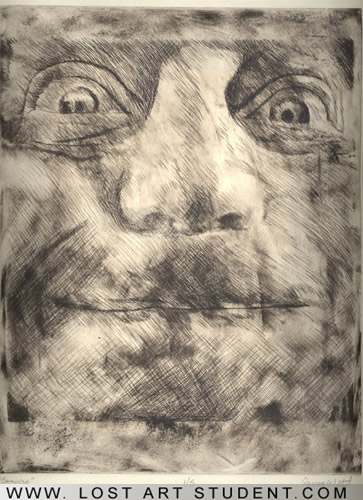
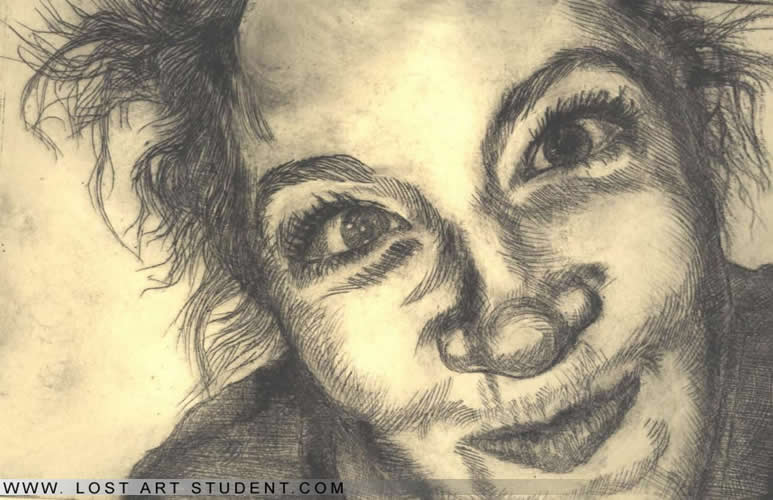
- Drypoint is most often used with other printmaking techniques. The drypoint technique typically produces prints with irregular, fuzzier lines.
- When you conclude your run sign and number the edition in pencil.
|
|